Monday, December 28, 2015

V-stitch for Victory

The first winter the boyfriend and I were going out, he told me it was cold in his house.  So I thought I should start making my beloved a blanket so it would be done in time for his autumn birthday.  And then maybe Christmas.  Okay, I'm still technically working on it in that it's in a bag and it's really close to being finished.

In preparation for this Christmas (and because I already had a big ass hook), I started work on 5 1/2 hour throw.  Lion Brand has several variations of this pattern--basically, choose super bulky yarn and get V-stitching.  My choice was based on color preferences--the boyfriend likes orange, and Nicole Stitch Studio Heartfelt Heritage had an orange I thought would be good.

This is not actually a 5 1/2 hour throw, even accounting for the fact that I had to work and rest from grappling with a massive plastic hook.  Unless everybody's way better at maneuvering gargantuan crochet hooks than I am, there's no way this is even 6 hours of work even if that's all you did that day.  It's an improvement over the previous Infinity Hours Afghan, and it is a quick project, but you're not going to finish it while binge-watching Unbreakable Kimmy Schmidt.


 The final product was 7 skeins of Russet, so about 574 yards of yarn.  The original pattern has a simple edging up the sides and fringe on the ends.  Since the boyfriend and I are both cat owners, I decided against extra yarn hanging off the ends.  I've also never done anything like that, so I have no idea how easy it would be for a bored cat to pull it loose and eat it.  Since the week after your cat eats yarn is fairly unpleasant, I decided to go with a single crochet border all the way around.

This was also a way to incorporate the boyfriend's second signature color, blue.  Despite not going to UVA (other than that one time when we visited Charlottesville), the boyfriend likes orange and blue together, and he was happy with the dark orange and dark blue.

Unfortunately it was 75 degrees on Christmas, so that cut into the blanket enthusiasm.

Monday, December 14, 2015

Easy DIY Emoji Ornament

What you need:

  • Cardstock 
  • Premade round ornament (I found mine at A.C. Moore)
  • Sharpie
  • Mod Podge (for some emoji)

I went with the laughing crying emoji because 1) I do whatever the Oxford English Dictionary tells me is cool and 2) it's my friend Professor of the English Class's signature emoji.

For the circle, I used the insert that came with the ornament as a guide.  Smarter, patient people might want to try tracing it, then cutting, but I had things to do.

Since I only needed a little bit of white for the teeth, I drew most of the face with Sharpie and used a white out pen for the teeth. In case the ornament spins, I drew the face on both sides. The tears won't fit inside the ornament, so they're attached to the front of the ornament using Mod Podge.  

An even easier option for those with holiday shit to do: print out an emoji on photo paper and stick it in a frame.  Hand assembled still counts as handmade!


Monday, November 30, 2015

Kitten Approved Kowl

Large gauge projects are faster, but I feel like wrangling the massive hook is harder on my hands.  In my advanced age, I'm having trouble using smaller/typical sized hooks for long periods of time, and the massive hook seems to have similar problems.  Eventually I'm going to read a point where everything is made with either a J or a K hook.

This is Red Heart Grande in Orchid and a Q hook (with 6 month old kitten for scale). The Classic Chunky Cowl was an impulse project after years of disliking infinity scarves.  I guess if anyone says anything, I'll tell them this is a cowl.

This is another good traveling project since there's only one color, but my brittle old wrists make it hard to sustain.  It was good for when it was the boyfriend's turn to drive in Shenandoah National Park especially since we had lots of overlook breaks, but it probably wouldn't make the cut for a plane trip or long car ride (since I wouldn't be able to work on it for very long at a time).

As for the final result, it's not as much of a "wow" project as the Asymmetrical Neck Warmer or my scarf and fingerless gloves set (which apparently I never posted about).  Even after wearing it to work, I'm still not sure about the final look of it, but it's warm and a big hit with Toro--he wanted to knead the big stitches and then he tried to climb inside it.  This yarn and a similar pattern might make a good kitten bed.
Finished project with kitten tail

Monday, November 23, 2015

Black and White

After Toro the Kitten was adopted, it was time to decide on his signature colors.  Choosing signature colors for one's cat is a very important decision if you're a sad, crazy person.

Although black and white go with almost anything, red is Toro's signature color.  He's got a little red collar (that is currently behind a bookcase)...and all of his hand-me-downs and random toys which are not red.  Also what's left of a cardboard fire truck he and his sibs got to celebrate their last week in the foster system.

Once Toro had a signature color, he needed a little cat blanket of his own.

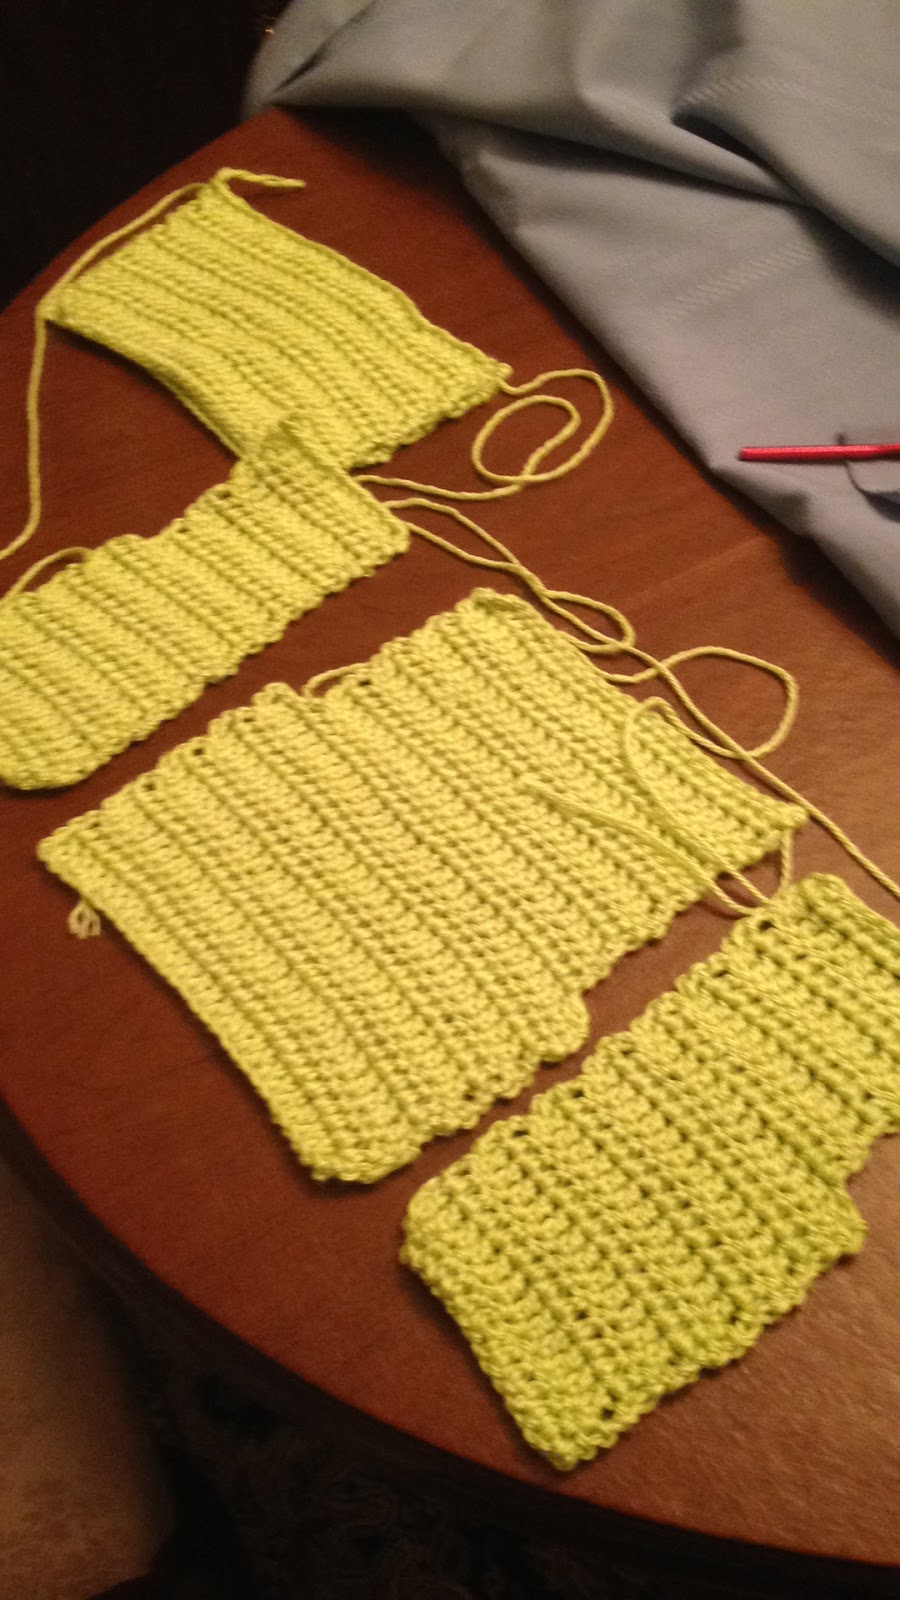
I've been using leftover yarn to make Snuggles, but I wanted something that could show off black and white stripes.  Plus, what's the point of a new kitten if you can't use him to practice new stitch patterns?

I decided on the cat crochet stitch in alternating black and white with a red border.  There are a few different versions of the pattern online (you know how the internet is about cats).  Primarily I used Crochet Geek and Loops and Rambling. I used a K hook and chained a multiple of 5 (the second link has a multiple of 5+2, but mine seems to have worked out for giving to a cat or a baby).

Dropstitch: Yarn over, insert hook into stitch two rows down.  Pull up a loop--really pull it so it reaches the top row--yarn over, pull up a loop for 5 loops on the hook.  Yarn over, draw through 4 looks, yarn over, draw through 2 loops

Row 1: Dc in 4th ch from hook, dc in next ch, sk 4, *2 dc ch 2 dc (shell) in next ch, sk 4 ch, repeat from * until the last 2 ch, dc in each of the last 2 ch

Row 2: Ch 2, dc in next dc, *shell in ch 1 space, repeat from * across row, dc in last dc, dc in turning chain, change to next color

Row 3: Ch 2, dc in next dc, *dropstitch two rows down, shell in ch 1 space, dropstitch, repeat from * across row, dc in last dc, dc in top of ch 2.

Row 4: Ch 2, dc in next dc, *shell in ch 1 space, repeat from * across row, dc in last dc, dc in top of ch 2

Row 5: Ch 2, dc in next dc, *shell in ch 1 space, repeat from * across row, dc in last dc, dc in top of ch 2, change color

Repeat rows 3-5 until the blanket is the desired length, then do one more Row 3.  For the final row: ch 1, sc in first stitch, ch 2, 2 sc in ch 1 space, * ch 3, 2 sc in ch 1 space, repeat from * to last 2 stitches, ch 2, sc in last 2 dc

Skipping the last Row 3 and Final row makes it hard to shape your last row of kitties.  The trade off is that finishing this way gives the top a "severed heads" look.  Especially with a bright red border!

For the border I used sc, then dc for the second row.  Pretty standard border: go down the sides and wonder if you're doing enough stitches, 3 stitches in the corner, feel confident about doing the backside of the foundation ch, and so on.  I thought about doing a crab stitch or something else subdued yet elegant, but then I remembered that this is for somebody who spent October sitting in a plastic bowl.

He looks like this because I had to lure him onto the blanket with a toy.  He only recently learned how to use a bed instead of a grocery bag or a pile of newspapers, so maybe some day he'll sit in it voluntarily.

Monday, November 16, 2015

Rainbow, purple, and glitter

 What do you give a girl who already has a magical rainbow bag for her birthday?  A doll that also enjoys purple and rainbows!
 This is the same pattern as the 4th of July doll I made for my grandmother a few years ago.  This one is a smaller hook and I actually remembered to put a mouth on!

The doll and the first dress are the Lily Fun in the Sun pattern.  I'm still...skeptical about the body pattern (it involves making some sort of tube), but it's easy to modify to crochet in the round.

To crochet the body in the round, ch 2, then sc 6 in the first chain.  Work increasing rounds until you reach 30 sc, then sc around until the body is two inches from the butt--then you can go back to the pattern as written.

Normally the dolls I make go commando (or have leotards). Since I was hoping to have enough time to make a second outfit (and worried that the Fun in the Sun dress might be too short), this doll has permanent sparkly underwear.  And permanent sparkly shoes.

Feedback from the boyfriend and the sister indicated that the transitional stage of the doll (assembled but no hair or clothes) was unsettling.

Since the doll is going to get multiple outfits, both of her dresses are strapless.  Based on the directions, I suspect that the clothes are designed to stay on once the straps are added. The doll also went to a six year old with two younger brothers, so extra things that get sewn on are just extra things that can get accidentally pulled off.

After finishing the Fun in the Sun Dress (purple and sparkly), I had enough time to make a rainbow dress.  The rainbow dress is the same pattern as the 4th of July dress but with more color changes and more stripes.  Just one rainbow sequence made the dress more of a tunic length and I figured the birthday girl would approve of more rainbows, so I added more stripes.

As always, the patterns recommend sewing yarn onto tape or something?  This requires arcane skills like "threading a sewing machine" and "remembering where a sewing machine is."  My technique is to backstitch the "hair" onto the scalp, then carefully trim the hair once it's all on.

 It might be the yarn (Lion Brand Bon Bons vs Red Heart) or the length, but the rainbow dress came out a bit lumpy.  I'm hoping that the fact that it's hot pink with a rainbow will make up for that.


Monday, November 9, 2015

My motivation for winter projects plummets once it starts to warm up.  This is probably normal given that I live in Virginia, where it's 80 degrees through most of September.  I've wanted to make the Asymmetrical Neckwarmer for awhile, but I had a hard time choosing yarn and then Spring came.  As the wretched heat and humidity of Summer faded away, I looked at what I had of the neckwarmer so far and decided I hated the colors.

Part of the problem with the yarn I'd been using was that the colors didn't change at the right places for this pattern.  After my previous experiences with substitutions gone awry, I decided that if I was going to do this, I needed to find a Landscapes colorway that I liked.

 My version is done with Desert Spring since I wasn't sure I wanted to be a gloriously warm rainbow.  It's made in a long strip, then seamed together at the shoulder.  Since I'm an idiot, I thought it had one arm (it doesn't).  This slightly impeded seaming.

Once the seam is made, the collar's worked around the neck opening.  The pattern says to work the collar until it's about 4", but I went with "until the yarn is almost completely used up."

For whatever reason, this item has gotten more compliments than a lot of my other scarves/crocheted accessories. Apparently the boyfriend's mother now wants him to marry me so she can get one of these.  So, stay tuned for my 300 Craft Projects pre-engagement blog!

Monday, November 2, 2015

It's not really a cover up


This is Toro's first craft blog post.  He was one of my post-Zoot foster kittens.  In August he was hired on permanently.  Here he is sleeping on his first crochet project.

Webby Sundress is my second attempt at a Double Stitch Twins pattern.   I'm pretty sure Stitch Nation yarns ceased to exist, so I did mine with Red Heart Soft.

I was initially just going to use two colors--Watercolors, a variegated shade, for the main dress and Lilac as an accent, but I decided it would look weird to only match one of the colors in Watercolors.  I would like to praise Red Heart's Multicolor Coordinates List, but my A.C. Moore didn't have one of the matching colors and I didn't like the other one when I saw it in person, so I just eyeballed it.  But it helped me choose Lilac to begin with and it's good for star afghans?

Given my statuesque proportions, I used a larger hook and added a few rows to the bodice and middle to make sure that it would actually fall to knee length when worn as a dress.  Since I was using three colors instead of two, I also added a second (third?) stripe to the top section.

I also skipped two of the chains for the belt/halter neck.  This was partially because I wanted to wear the finished project on a date the weekend I finished it, but also because I was happy with the way the two ties looked.  They're long enough that you can wear it around your neck a few different ways--regular halter, criss cross, make a bow in front, etc.

As a mesh dress over an existing dress this was a hit with the boyfriend, but I'm not sure how I feel about it as a skirt.  I don't think black will work given the greens and browns in it, and matching the length is also a bit tricky.

With my current body, I also feel it's not as flattering as a skirt.  The top part feels like it draws way to much attention to my paunch.  I also tried it over a long tank top and leggings but didn't like it (then again, I don't like looking at myself much these days).

Toro helps with the ruffle


I like the way it turned out, but if I were doing this one again I'd pick colors that work better with my existing wardrobe.  The little bit of brown is what kills it since all my neutrals are black and gray (aka light black).

No pictures from my date, so here is what the finished product would look like on a very thin person with a bonus glimpse into my messy closet.

Monday, October 26, 2015

Rainbow is the best color

The magic rainbow bag is a simple project that took way longer than it should have.

As I've blogged about before, I like the idea of Bonbons.  I'm just not as big on stripes and what to actually do with even smaller yarn scraps.  But after confirming that my friend's daughter still considered rainbow to be the best color, I decided that I would do something with rainbow Bonbons.  I didn't know what that something would be, but even if I didn't have a vision, I had a coupon.  Having a coupon and/or being in a craft store while bored has often been my tragic flaw.

Fortunately I was able to combine my mastery of buying more craft supplies with browsing the internet for projects and I discovered the granny square bag.

  This could be made with any colors, but I went with rainbow.  To keep from running out of anything, I did two versions of the squares--one starting with red and one starting with purple.  I considered assembling the bag with red border squares on one side and purple border squares on the other, but Brian said the alternating layout looked better.

Once the squares are assembled into one big square, bag is joined by placing the wrong sides together and double crocheting through the edges of both squares.  Since I was low on almost all the Bonbons colors and didn't know if pink would make it all the way around, I used some leftover white (which probably turned out better than a pink border anyway).

I crocheted the sides together, and then went off to do something else.  Then I made handles and continued to procrastinate.  Sewing/joining is my least favorite part of any project, so I did other stuff.


Zoot enjoyed the project in her own way.  And I very slowly considered that maybe at some point I'd start sewing the handles on, and eventually I'd get around to weaving in the loose ends (you know, probably before my friend's daughter went to college).


Zoot passed away a month after the above picture was taken.  I still have a few other WIP that Zoot slept on, but this one was sort of the last.  She slept on it and played with the little balls of yarn and after she died I had to get it out of the house.  So this is the only project Zoot got me to finish faster (after interrupting it a few times).

What with grieving and all I didn't manage to get a picture of the finished bag (and probably shouldn't post pictures of friends' children on my humble little blog), but for me it's probably always going to be the last inadvertent cat bed rather than a magical rainbow bag.

This is the last of the backlog posts for now.  I did some crafting in Zoot's memory, but I'm not ready to post about that yet.  Zoot may make some appearances (which will indicate I've taken my good sweet time finishing something), but this will be her last heavily featured post.

Monday, October 12, 2015

Unforgettable

I want to like Boutique Unforgettable yarn--it's probably accurate to say that I do like it since I like a lot of the colors and I've tried to use it in projects...

...but those projects haven't come out quite right.  They look nice. I still like the colors.  But crocheting with Unforgettable is what happens when you make something in the Pet Semetary.  It just comes back...wrong.

There is no way in hell this yarn is actually worsted weight.  My first encounter with Unforgettable was for the Cluster Stitch Wrap (to the left).  I liked this pattern so much that I actually used the yarn pictured to make it.  Long time readers (hi, Kristen!) know that I generally take the pictured yarn colors in a free pattern as a suggestion.  And maybe even the brand.  That's right, yarn companies, this is one crocheter who's not falling for your scam to give me free patterns to get me to buy your yarn!

So, I dutifully bought this yarn and began stitching.  And then it came out too small.  Think "pastel rainbow wild west bandito" too small.  So I tried again with a larger hook.  Wearable, but still smaller than promised.

 Here's the finest product modeled by Zoot so you can see the insufficient size (although to be fair to the pattern and scarf, Zoot was built like a feline opera singer).

Naturally I learned nothing from this experience and went back to Unforgettable to make the Butterfly Wrap.

Like the yarn, I want to like the Butterfly Wrap.  For mine I used some leftover purple wool and a coordinating shade of Unforgettable.  I don't know if it's the yarn or my burly shoulders, but it does not drape beautifully over my shoulders.  Maybe I would have better luck with Treasure, the yarn it was written for, or something like Lion Brand Landscapes, but the end result is too small.  This could also be a one size fits most problem; even at my skinniest, I still usually needed larger sizes for jackets and cardigans.


Monday, October 5, 2015

State Fair Baby Set 2014

This year I didn't get anything finished in time for the State Fair competitions (or anything finished that I hadn't already sent to its intended recipient), but last year I combined baby gifts with State Fair entries.

Brian's friends Doug and Danielle were expecting a baby, and I found a bunch of gender neutral Pipsqueak yarn.  Pipsqueak is nice to touch (more on that later) and a complete pain in the ass to actually work with.  Since it's so fluffy, it's difficult to actually see the top of each stitch.

As I actually had time and crafty ambitions back in the halcyon days of 2014, I decided to find some yarn to match the Pipsqueak and make a sweater, toy, and blanket.  For the sweater, I used my go-to baby sweater pattern.  In the last year I tried another baby sweater pattern, but then I got bored and the baby got too large.
 Here are the two front pieces, the back, and a sleeve before assembly.  Despite having made at least three of these sweaters, I still have no idea why the right side is smaller than the left side.  Maybe human babies are asymmetrical.

One disadvantage to being so far behind in blogging my projects is trying to remember what I used.  I think the main part of the sweater is Caron Simply Baby in Tiny Sprite.  Caron, Bernat, Lily Sugar n' Cream, and Patons forming the craft-Voltron that is Yarnspirations has explained a lot of my "excellent luck" and "discerning eye" in finding yarns that just happen to match perfectly across different brands.

Once the sweater was assembled, I added the blanket yarn as a trim.

For the toy, I used an amigurumi tiger pattern.  A coral cotton yarn was a "close enough" match for the Pipsqueak, and cotton is generally durable.  Plus, extra hats with the leftovers.

Because I'm fucking brilliant, I made the little cat toy wear a matching sweater.
Brian's favorite picture from this project

Basically, most of the body is made with the green yarn.  The front paws are about 2-3 rows of coral before changing colors to make the "sleeves."  I either left the front loops available for the collar or just sewed it on.
It looks like the cat just has a hairy chest that cannot be contained by a tight sweater, but this is the front of the trim.  That's right--I'm so brilliant but insane that there is this level of detail on this potential chocking hazard.

For the blanket, I used this pattern and alternated Pipsqueak and the sweater yarn.  A pattern may not be necessary for experienced crafters as it's a large rectangle with stripes.  Like a granny square, all the stitches are worked in chain spaces which is the only way to make crocheting with Pipsqueak tolerable.  Making the foundation row and slip stitching at the beginning of each row was like trying to make love to a drunk Muppet in the dark.  With a K hook for a dick.

Basically, I discovered the yarn equivalent of metallic embroidery floss.  Oh, how cute and fluffy it looks!  Oh, how I hate it!


Competition was stiffer in the baby set category in 2014, so this set did not win anything other than repeated gropings from passers-by and a thank you note from the happy parents.  Such is the siren song of Pipsqueak novelty baby yarn that State Fair visitors actually rubbed their grubby little hands all over it before going to get more fried Oreos (yes, I washed it before giving it.  Zoot probably slept on it too).


Monday, September 28, 2015

My cat passed away in June.

This probably isn't the best way to start my first post in over a year--especially since my job, rather than my cat, was what really got in the way of crafting and posting--but Zoot always wanted to be a part of crafting.  If you received a crocheted gift from me before June 2015, Zoot either slept on it or wanted to play with the yarn while I was making it.  She also sat on the stamped tissue paper while I was decoupaging reindeer, and she liked to sleep in the middle of wreaths.

This has been a difficult summer because Zoot always wanted to be nearby, and now she's gone.  It's also forced me to confront one of my unfinished projects.


Years ago I started this pillow for Zoot.  And then I never finished.  I got distracted by other, quicker projects, and I learned that I'm really terrible with anything involving lots of squares and eventually having to join those squares.  Honestly, I don't think I ever would have gotten around to finishing it, but now it's too late.

The squares will probably join the ones from my grandmother's house and eventually made into small blankets for shelter animals.  "Eventually" being short for "eventually when I stop beating myself up over this one unfinished project."

A happier post (still involving Zoot) next time, but for today I'm still sad (and why drag somebody's gift into that?).